Wednesday, February 29, 2012

Apple Crumb Cake


Hello and welcome to this weeks episode of Adventures In Baking.  I had a difficult time deciding which way to go with this weeks assignment of a cake, pie, or cupcake.  I was leaning toward a cake, but I just couldn't find a recipe that sounded good.  The recipe I decided upon is more along the lines of a coffee cake than a traditional tiered cake.  You can find the full recipe here


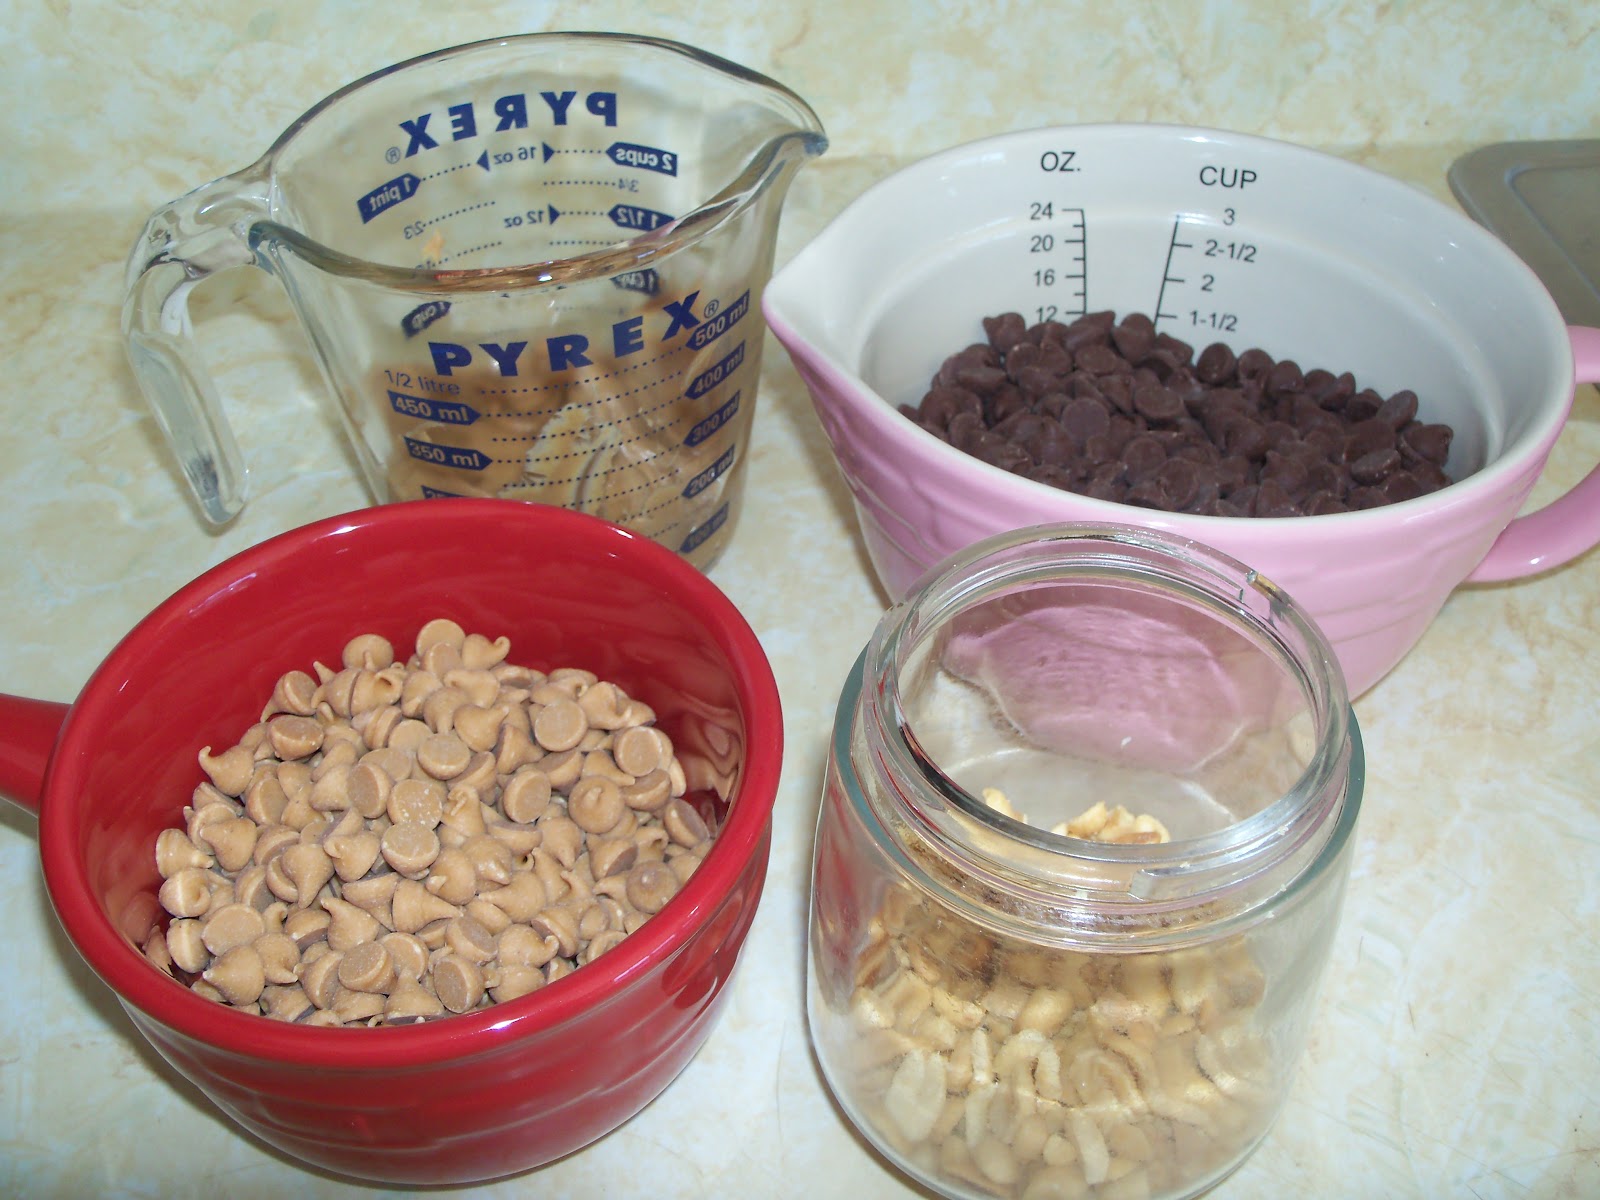
The ingredients.  Lots of cake bakin' goodness here plus an apple, yogurt and walnuts.  I couldn't find a small container of plain yogurt so I had to buy this gigantic tub.  Note to self:  Look up yogurt recipes.


Let's get started.  First up is the crumb topping.  Mix together butter, sugar, flour and salt until you get a crumbly mixture.  This took ForEver!!  I really began to think I did something wrong cause it wasn't combining into a crumble.  Turns out I wasn't patient enough.  Story of my life, LOL!


Next step.  Sift together flour, baking powder, baking soda, salt and cinnamon and sit to the side.  Beat the butter and sugar until light.  Mix in eggs and vanilla.  Add the flour mixture and yogurt alternately.  Alternately?  What is the point of this?  I've seen it in several recipes and assume there's a reason, but I'm clueless (imagine that!) as to what's so special about adding it alternately.  This particular recipe even specifies that the alternating should begin and end with flour.  I'm gonna be a rebel and begin with flour and end with yogurt! .....nahhh..... I'm so not a rebel, haha.  Then mix in the diced apple. 

I have to tell you about this apple.  It doesn't have anything to do with the recipe, but it's a good story.  From the very second I picked up the paring knife, I flashed back to being in grade school, at my grandma's after school, and watching her peel and slice apples.  I can picture her standing at the sink, holding the knife with it's worn, dark brown handle, the red apple (it was always red, never green or yellow) and the peel that just got longer and longer as she progresssed around the apple.  It was a game.  Could she peel the entire apple without breaking the skin swirl. Of course she could do it.  Every. Single. Time.  I need to work on my apple peeling skillz.


Final step.  Pour it in a pan, smooth out the top and sprinkle the crumble on top.  Bake for 50-60 minutes.  I lined the bottom of the pan with parchment paper so it was super easy to lift right out after it cooled. 


Taste test.  Yep, this one's a winner.  I was a little concerned that I should have used a softer apple , but the Granny Smith is just the right texture. 

On the next episode of Adventures In Baking...... it's a bread or muffin.  I've been eyeing a lemon muffin recipe but I'm still looking.

Happy Baking
-Teddra   


Tuesday, February 28, 2012

Grins & Giggles


Hi, how's your day going?  I'm busy, busy, busy......lots to do and not enough spare time to play!  Today I'm sharing another of the layouts I completed this weekend. 

This is an old pic of me and my baby brother.  I had just turned 4 the day before and he was exactly 6 months old.  I have to say, I don't think it looks anything like him today.  Maybe it's because he's almost 6 feet tall, skinny and doesn't wear jumpers with psychedelic elephants anymore.  Although .... he does have his tongue sticking out a little in this pic and to this day, if he's concentrating really hard on something.....his tongue is hanging out of his mouth!  It's kinda weird, but it's totally him. 

I used Doodlebug's Monster Mania patterned papers from Apron Strings October 2010 kit.  Aren't those little banners fun!

Have a great day and check back tomorrow for the next episode in Adventures In Baking.

Teddra   

Sunday, February 26, 2012

School Days

Hi and welcome to a peak into my world.  How was your weekend?  I accomplished so much this weekend, I need a day off! 

I've been craving crafty time so I took a few hours to work on six layouts.  Yes, I said SIX! and I'll be sharing them over the next couple of weeks.  I used the November 2011 Apron String Design kit featuring Bo Bunny's Forever Fall patterned papers.   I love the colors and they're perfect for Christopher's school picture.

Thanks for stopping by and I hope to see ya back here soon!
-Teddra


Wednesday, February 22, 2012

Snickerdoodle's

Hello and welcome.  This week's Adventure's In Baking treat focused on a cookie.  After last weeks chocolate overload, I was looking for something a little less sweet, but just as tasty.  What I found was this amazing, chewy, cinnamon-y goodness.  You can find the full recipe here

The ingredients.  The only thing I didn't have in my pantry was Cream of Tarter.  I have no idea what this does in a cookie recipe, but apparently it's an essential ingredient in Snickerdoodles and they don't turn out right without it.  Since I'm not prepared to test that theory, I bought the cream of tarter.  **Side note....why's it called cream of tarter when it's a powder?  What's a tarter and why would I want to cream it?  Hmmmm? 
Let's get started.  Sift the flour, baking soda and cream of tarter and set aside.  Yes, that's me leveling the flour with a knife.  So professional!  LOL!  In a separate bowl, cream the butter and sugar.  Add eggs, milk and vanilla and mix well.  Stir in the dry ingredients.  If the dough is any indication, these are gonna be good.
Next step.  Form dough into 1 inch balls, place on cookie sheet and flatten.  **I used a silicon spatula to flatten the cookies and it worked really well - no stick.

Final step.  Combine sugar and cinnamon and sprinkle on top before baking.  Bake 8-10 minutes.

Taste test.  Ummkndd......just......ummmmndeed.......a.......snarfffff....sec......Sorry bout that, it's difficult to write and type and stuff cookies in my mouth at the same time!  This is the cookie I've been waiting for.  Delish!  Slightly crispy on the outside and chewy on the inside.  I think I've got a handle on this cookie thing.....everything else, not so much.
 
The Clean-up.  I decided to make a few larger 'bakery' size cookies to see how they hold up.  I added just a couple more minutes to the baking time and they turned out just as nice as the smaller cookies.  The recipe yielded 30 small and 15 large cookies. 

And then.  Not to mess with perfection, but the recipe also included instructions for a Cinnamon Brown Sugar Buttercream to make Snickerdoodle Sandwich Cookies.  Goodness.  If I was making these for a party I would definitely use the buttercream.   Gives it a little pizazz.

On the next episode of Adventure's In Baking.....a pie/cake/cupcake.  Since I've already gone the cupcake route, I'm thinking pie.....but we'll see. 

Till next time
-Teddra


Tuesday, February 21, 2012

Tis The Season

Hi and happy Tuesday to you.  I went back to work today after another 3 day weekend.  I could really get used to those!  Sadly, no more work holidays until Memorial Day.

I've been so busy with Project Life, Adventures In Baking and keeping up with my ebay auctions and shipping that I haven't been doing much traditional scrapbook pages.  I printed these Christmas photos over the weekend so they were begging to be used in a layout. 
The pics were taken Christmas Eve before the family arrived for dinner and are of a few decorations around the house. 
I used Echo Park patterned papers and stickers and American Crafts foam letters.


Another thing I just realized I completely forgot was my Two Year blog-iversary at the end of January! 

Till next time
-Teddra

Saturday, February 18, 2012

Candy-Bars


Hi and welcome to a bonus episode of Adventures In Baking from this week.  Like I mentioned in the Cookie Dough Truffles post, I was feeling a little guilty about the lack of oven usage.  How can you have an adventure in baking when nothing was actually baked??  And so I was on the hunt for a recipe that would use the oven and still full-fill the category of candy, brownie or bar.  My search led to what you see above.  I found the recipe  here on Recipe Girl.  Chocolate and peanut butter with an oat crust.  Oh yeah. 

The ingredients.  I had to make a quick trip to the store for this one.  Several things I didn't have on hand:  Quick-cooking oats, corn syrup, peanut butter chips and peanuts.  That's a lotta sugar! 
Let's get started.  First up is the bottom layer.  Stir brown sugar, butter and corn syrup over medium heat until combined.  Remove from heat and stir in peanut butter and vanilla and stir until smooth. 
Next.  Place oats in a large bowl and pour in heated mixture.  Stir to combine and press mixture into 13 x 9 baking pan lined with foil and sprayed with non-stick spray.  OK.....as simple as this recipe is so far.....I was lazy and didn't want to dig out my 9 x 13 baking dish so decided an 7 x 11 pan would work just as well.  And it did work fine.  The bars are just much thicker than they would be with a larger pan.  Bake 10-12 minutes.  I gave it an additional 5 minutes due to the extra thickness.
Final step.  Let the baked layer cool for about 15 minutes and then sprinkle chopped peanuts on top.  In the saucepan, stir chips and peanut butter over low heat until smooth and melted.  Pour the melted mixture over the peanuts and spread to make an even layer.  Sprinkle remaining chocolate and peanut butter chips and peanuts over the top, pressing lightly into the chocolate layer.  Refrigerate until firm and cut into squares.
  Taste test.  Wow......just......Wow.  I think the pan weighs 20 lbs.  I definitely should have used the larger dish.  They taste so good, but a few bites is all I can handle.  Too much chocolate for me.  I cut it into 24 pieces and gave most away.   This concoction doesn't leave anything out.  It's sweet and salty as well as crunchy and chewy.  I wonder if I could make a cookie out of the bottom oat layer and maybe add a few mini-chocolate chips?  That would be more my speed. 

On the next episode of Adventures In Baking......It's Cookie Time! 

Till next time
-Teddra


Friday, February 17, 2012

Project Life Week 3


Hi and welcome to Project Life week 3.  This weeks mission was Berry Scones with Lemon Glaze.  You can read all about the baking adventure here. 


For the date on the title card, I used round alpha's from Authentique and felt alpha's from American Crafts.  The little label sticker is My Mind's Eye.


The left side focuses on the recipe and instructions.  I used little flowers from My Mind's Eye to fill in the white space.

The right side is all about the finished product and the glaze.  The glaze.....what can I say......between the powdered sugar and lemon juice my teeth hurt just looking at the pictures! 


Lots of bright yellow and pinks on this layout. 

For those that enjoy my comical Baking Adventures, I will continue to post those weekly.  However, this will be the end of Project Life posts for a while.   I just wanted to show a different approach to it from the photo a day or weekly summary most people are doing.   

Till next time
-Teddra


Tuesday, February 14, 2012

Cookie Dough Truffles


Hi and welcome to my next Adventure In Baking.  In honor of  Valentine's Day, I wanted to make something a little festive.  I found the recipe for the truffles at Baked Perfection.  The truffles were dipped in red and green melts for Christmas so I simply switched up the colors to pink and red.


The ingredients.   Most of the ingredients are just like your basic chocolate chip recipe.  The cinnamon surprised me.  And you use water instead of egg to bind it together.


Let's get started  Combine the flour, salt and cinnamon.  Easy enough.

Next step.  In a larger bowl, beat together the butter, sugar, brown sugar and vanilla until creamy  Slowly beat in flour mixture until smooth.  Umm.....smooth?  It's too dry to be smooth.  Oh, didn't see that part....Add water if mixture is too dry to form into balls.  I added a couple tablespoons of water.  Stir in chocolate chips.  **The recipe calls for miniature chips which makes sense as they're going to be rolled into little balls, but I didn't have any mini chips and instead had a ginormous bag of regular size chips. 

Final step.  Roll the mixture into quarter size balls and lay on a wax paper lined cookie sheet.  Freeze for 15-20 minutes until firm.  This might be a problem for people that actually keep food in their freezer.....I'm not one of those people so the cookie sheet fit fine and laid flat.  

Finishing touches.  Melt candy melts in microwave, dip cookie dough ball into coating and decorate.  I started with the pink coating.  I think it needed to melt a little more to get to a thinner consistency.  You can see in the above photo the red coating is a bit smoother.  **Need more practice with the decorating. 

Taste test.    Let me just start by saying that I've never understood the whole 'let's eat raw cookie dough' thing. Yes, I've been known to lick the extra off the beaters but making the batter - or even purchasing it at the store - with the sole intention of eating it raw does not appeal to me. So I was somewhat skeptical of this little candy.  Just so the taste test would be somewhat fair, I asked a friend to try them also.  This friend  would be perfectly happy if  raw cookie dough became it's own food group.  She dug right in.  I nibbled but couldn't break through the chocolate candy shell so I bit off a big ole chunk as well.   Two glasses of milk and one truffle later, my opinion is that one bite goes a long way.  Not terrible, but I have no desire to eat another one anytime soon.  My friend really liked them and gave them two thumbs up.  I got the impression she would have given it a higher score if only she had a couple more thumbs!  
The clean up.  The recipe said it makes 20 truffles.  I made 19 1/2!  The first 19 were similarly sized and I had a tiny bit left over so I made a little mini-truffle.  I could see making these for a holiday party. The only thing I'd change if I were to make them again would be to make them smaller.
The next episode of Adventures In Baking will be back later this week.  Since I didn't use the oven at all with the truffles, I felt a little guilty.  It was an adventure, but not a baking adventure.  I corrected that little over sight the next day.

Till next time
-Teddra


Monday, February 13, 2012

Project Life Week 2


Hi and welcome to Week 2 in Project Life.  This week found me baking Andes Peppermint Crunch Chunkies.  You can read all about the baking adventure here.  Here's a close up of the title card:


The left side is all about the ingredients and instructions.  I found myself with a short recipe so used a few odds and ends from my scrappy stash to fill the extra space.


Here's the full right side of the layout which emphasizes the temp and baking time as well as the recipe yield.


  I'm also including a little note that summarizes the experience and things I don't want to forgot.


So this is how I've made PL work for me.  By focusing on this year-long baking adventure project I designed for myself, I'm able to combine my kitchen escapades and memory archiving in one place.

Now, I'm off to finish this weeks Adventures In Baking with the taste test.......I'll let you know how it goes!

Till next time
-Teddra   

Saturday, February 11, 2012

Project Life Week 1


Hi and welcome to the first few pages of my Project Life album.  I started working on this post several weeks ago but things just weren't coming together.  I think I've finally managed to get everything in place to where I'm happy with the result.  Above is a pic of both pages and I have a few closer shots below.

Here's a close up shot of my title card which includes the date and type of cookie.  I wrote on the little label die cut and cut off the bottom to use to fill in the white space at the bottom of the recipe.


Each page protector has four 4x6 spaces as well as four 2x3 spaces.  The core kit comes with a variety of options to fill the spaces and add a little design pizazz to mix things up.   This side includes the recipe, which took up quite a bit of journal space as it includes the chocolate cookie recipe as well as the peanut butter cookie recipe. 


And here's a little closer look at the right side.  I used a lot of alpha stickers on the journal cards highlight a few special notes. 


Well, that's it.  The first entry in my Project Life album.  I hope to finish the next two weeks layouts this weekend so be sure to stop back by and check them out.

Till next time
-Teddra


Wednesday, February 8, 2012

Banana Bread


Hi and welcome to Adventures In Baking.  This week I was focusing on a bread or muffin recipe.  I've made muffins and bread from mixes before but never from scratch.  I'd like to be able to make fresh baked bread and rolls, but thought I'd work my way up to those.  I found this recipe for Reese's Peanut Butter Banana Bread on a baking blog.  The recipe seemed pretty straight forward so I thought I'd give it a try.  I don't remember ever tasting banana bread before so I don't really have anything to compare this to. 


The ingredients.  The recipe calls for 3 ripe bananas so I purchased mine a week ahead of time to allow them to get  nice and mushy.   Look at this, I finally found a recipe that doesn't use any butter! 

Let's get started.  In a medium bowl, whisk together flour, baking soda, baking powder and salt.  In large bowl mash bananas. 


Next step.  Stir together bananas, peanut butter, oil,egg, granulated sugar and brown sugar.  Add flour mixture and stir until just combined.  Batter will be lumpy.  (And a mushy brown color). 


Final step.  Fold in Reese's Mini Peanut Butter Cups and spread batter into loaf pan.  I had a couple of these aluminum loaf pans left over from who knows what.  The pan was 1/4 inch smaller than the recipe called for but I thought it would be OK size wise. 


Taste test.  Oh.......where to start.  The recipe said to bake at 350 for one hour or until toothpick comes out clean.  I checked on the bread about 20 minutes into baking and discovered one side oozing over the side of the pan and dripping all over the rack and bottom of the oven.  Great.  Oven's too hot to clean.  Guess it'll just have to burn, baby, burn. 

I removed the bread from the oven after an hour to do the toothpick test.  The three center places I tested came out clean, but I could clearly see it wasn't fully baked.  Most of the bread had this crusty shell (except for the side that fell off inside the oven).  That side was clearly still mushy.  I think the toothpicks were coming out clean in the center because the crust was cleaning off the toothpick as it was being pulled upward. 

I put the bread back in the oven testing it every 20 minutes for another HOUR!  I kind of gave up at that point.  The smoke that was drifting out of the stove top burners (from the previous overspill burning to a blackened crisp) made the decision for me.  I turned the bread out of the pan and it sort of fell apart because it still wasn't baked all the way through.  I attempted to cut a slice off the end to taste it and I ended up with the chunk you see in the above photo.  Burned on top and those dark inside spots are where it still wasn't baked.  There's no beating around the bush on this one......It tastes terrible. Smells like banana, but tastes like.....well.....I'm not sure what this tastes like but it isn't bread.  One other thing I noticed as I was stuffing it down the garbage disposal is that most of the Reese's cups sunk to the bottom.


The clean up.    I was extremely disappointed in my bread making attempt.  Was it something I did?  Was it because I used a flimsy aluminum pan instead of metal or stone pan?  Was it just a bad recipe?  Is something wrong with the oven temperature? 

I woke up the next morning determined to give it one more try.  I went to my go-to baking blog Baked Perfection to see if she had a banana bread recipe.  No bread, but she had a banana peanut butter chocolate chip muffin recipe.  A muffin wouldn't need to bake as long and I have all the ingredients except turbinado sugar.  What the heck is turbinado sugar? 

The two recipes are very similar although the muffin recipe also calls for cinnamon, butter and vanilla.  Baked Perfection's recipe also explained that the chocolate chips should be coated with a small amount of flour to prevent them from sinking to the bottom of the muffin.  Genius!  The muffins are very good.  Nothing super exciting, but nice texture and not over banana-y.  I think they'd be nice with a few chopped nuts in the mix also.  So I finally got my banana bread, in muffin form.  Not bad, but not as good as a nice blueberry muffin.

On the next episode. It's time for a candy/brownie/bar.  I haven't decided upon the next recipe but have been looking at several different options.  This banana bread experiment has me a little gun shy about venturing away from the two or three blogs I really like to find a recipe.  Now what am I gonna do with all these muffins??
Till next time
-Teddra