Thursday, December 16, 2010
Tags
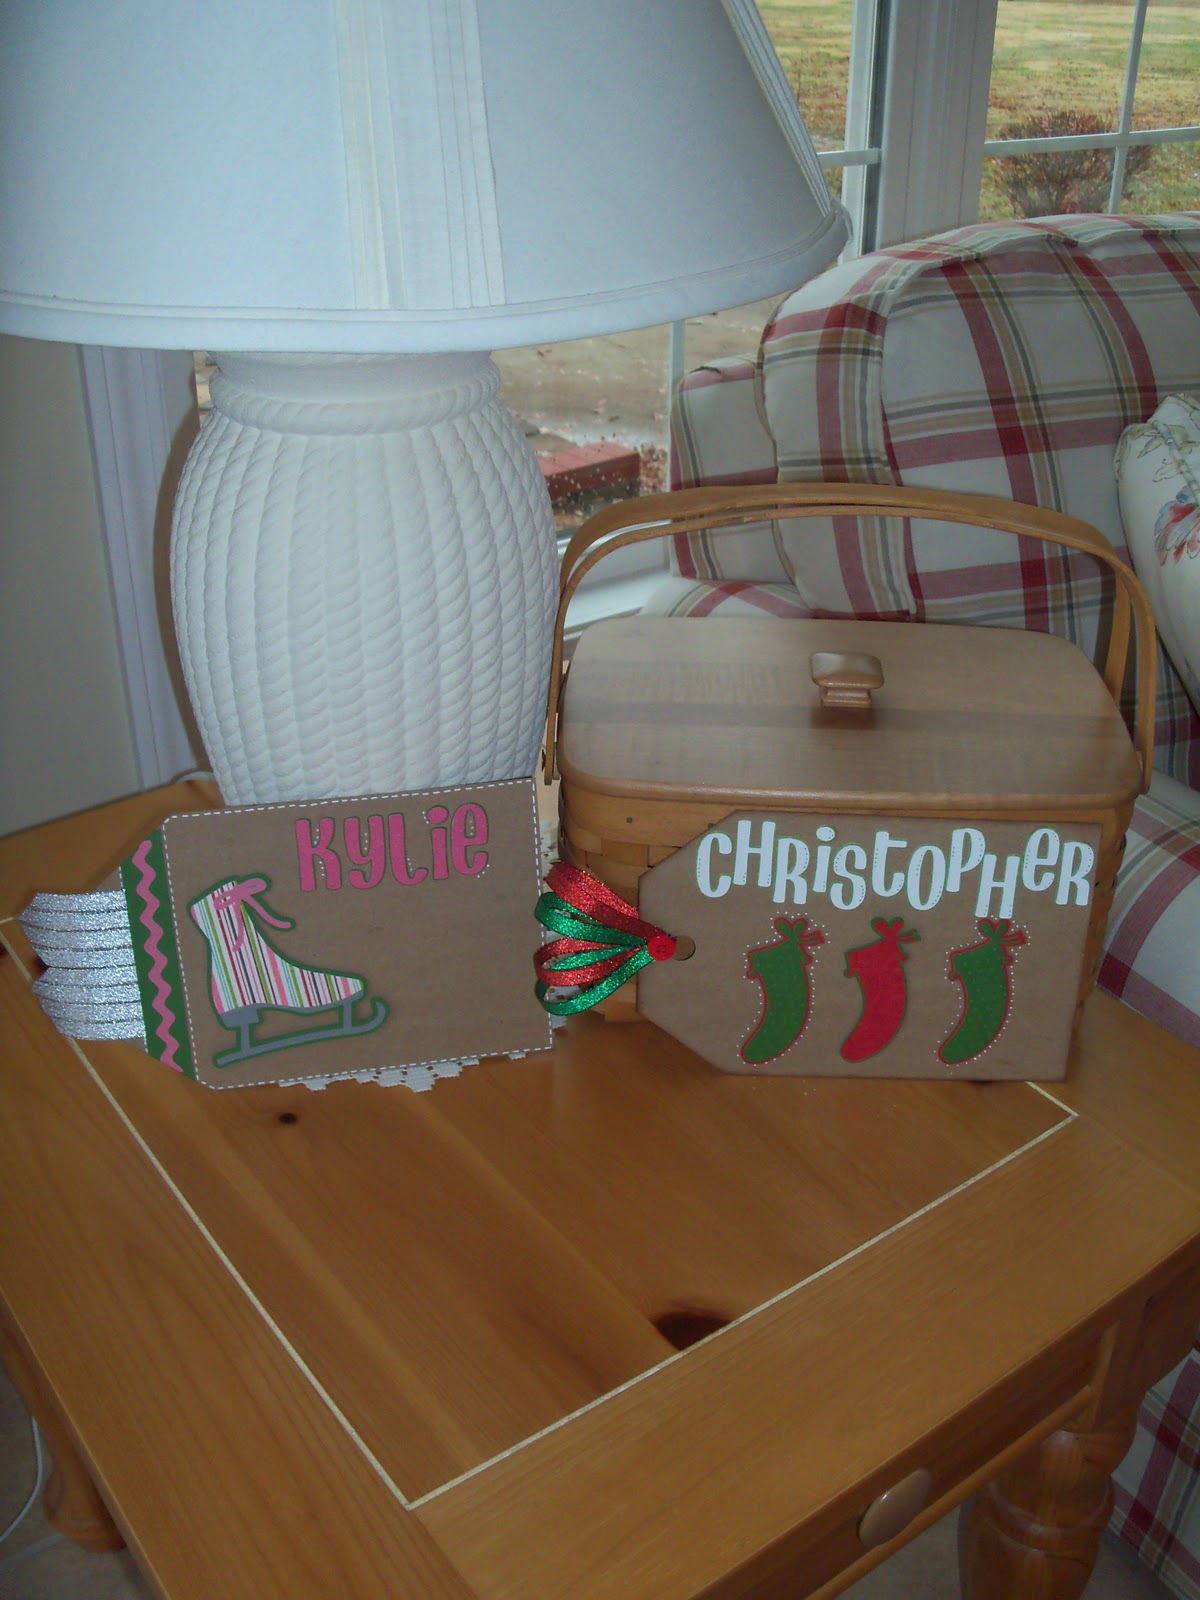
I made a couple of simple tags to go on Christmas presents. The tags were cut from Tags, Bags, Boxes and More. The alpha's are from Don Juan, the ice skate and stockings are from Winter Woodlands. Very simple cuts with limited layers and a few ribbons to jazz it up.


Monday, December 13, 2010
Birthday Card
Today is a friend's birthday and I made this card to go in the box with her present.

The base is a five inch square of kraft cardstock. The next layer is colorbok dot paper and then another layer of kraft paper. The kraft layers are embellished with dashes and dots from my white Signo pen. The top layer is a die cut frame from Papertrey Ink. LOVE Papertrey products! The die is Fillable Frames #4 cut from sweet blush cardstock and stamped with the frame and sentiment from the stamp set of the same name in Dark Chocolate. The frame is popped up and a sweet blush ribbon is tied around the mat. Let's hope it gets to her in time with the terrible snow storm sweeping the midwest!
Saturday, December 11, 2010
Gingerbread Frame
Hello again. Just so you know....I have been crafting. However, most of the things I've been working on are for Christmas presents and I don't want to risk posting pictures.
 I do have a little frame to show you today. I used patterned paper from Cosmo Cricket Winter Mittens for the green floral background, red scalloped mat and toasty gingerbread man. The gingerbread man was cut from the From My Kitchen cartridge and the layered scallop squares are from Mini Monograms. I added a few gems and white 'frosting' to the image and a small strip of Ripe Avocado twill ribbon to the bottom to finish it off. It's now hanging in the kitchen, the perfect place for a gingerbread man!

Wednesday, November 3, 2010
Embossing Storage

Tuesday, October 26, 2010
Paper Pumpkins

Super Simple and aren't they cute-I especially like the curly stem on top! This picture was taken before gravity worked its magic on the largest, but the other two are holding up well.
Monday, October 11, 2010
Halloween Hanging

Happy October! I've been in the Halloween mood for several days now and completed a few cards along with this wall hanging. I used three chipboard circles that were purchased at CKC last April. I was able to cut the designs out fairly large because the circles are just over 11 inches in diameter. My favorite is the raven in the tree in shades of purple....spooky! Here's a closer look..

The large images (witch, pumpkin and tree) are pop dotted off the background. The individual circles are attached with ribbon and I added a simple loop to the top. I've been having difficulty finding green cardstock paper. The green I used is practically glow-in-the-dark so the tree looks like it's oozing lava! Wish I had used yellow instead, but live and learn, right? Thanks for looking!
Wednesday, September 15, 2010
Bright and Cheery

For the past few days, the weather has been cloudy and gloomy and I decided to scrap my way to brighter days. I used some bright, fun papers from the Delovely collection by Cosmo Cricket to decorate a 6x6 chipboard book I found in the dollar bin at Michael's (I've made some great finds there lately!). The five pieces of chipboard were attached with a binder ring in the upper left corner, but I wanted mine to be able to stand up, so I used the crop-a-dile to punch holes in the lower portion as well.
The photos I chose to use were from the first 'Girls Weekend' my mom and I took to Dresden, Ohio. For three days we shopped. I'm not kidding. I couldn't even begin to guess how many bags we had - the truck was full! We spent the first two nights in a hotel, but decided to change things up and spent the last night at a local bed and breakfast, The Inn at Dresden. It's a beautiful property set high on a hill. I thought the hill was scary going up, but that was easy peasy compared to driving down- Yikes!
Subscribe to:
Posts (Atom)