Tuesday, January 31, 2012

Celebrate


Good Morning and Happy Tuesday to you!  Today I'm sharing a card I whipped up using a couple of dies.  I needed a card to go with the box of cookies I mailed to my Dad for  his birthday last week.

All supplies are from Papertrey Ink. 

Thanks for stopping by!
-Teddra

Friday, January 27, 2012

January Christmas Cards 2012


Hello!  Yes, I know Christmas is 11 months away.  Two years ago I started making a couple of Christmas cards each month throughout the year so that when December rolled around I had a nice stack of cards ready to go.  I slack a little in the summer.....it's difficult to think Christmas when it's hot and humid......but for the most part I have a nice selection to choose from when it's time to get them addressed and in the mail.


As you can see, I made four cards using the same design....well, except the pink one where I taped the banner upside down (whoops!).  I used Candy Cane stripe paper, Cardstock, Tiny Treats: Christmas and Half & Half dies from Papertrey Ink.  The circle and snowflake punches are by EK Success and I used various copics to color the little birdy and branch. 

Thanks for stopping by and I hope to see ya back here soon!
-Teddra

Wednesday, January 25, 2012

Butterscotch Pecan Sandies


Welcome to a new episode of Adventures In Baking.  This weeks treat is Butterscotch Pecan Sandies.  I was looking for an item that I could ship to my Dad in Florida for his birthday.  Happy Birthday Dad!

This is another recipe I found on Baked Perfection.  Almost every recipe on her blog appeals to me and I have a difficult time narrowing down my weekly choice.  I'm setting up a rotating schedule for each month so I stop making so many cookies!  Maybe the first week of each month I'll focus on a cupcake and the second week will be something with fruit.  I'm still working out the kinks, but that's the plan.  Another issue I'd like to address is the recipe, or lack thereof, in my weekly posts.  Someone recently asked why I don't post the recipe I'm using and here's my explanation:  I'm learning how to bake and documenting my experience.  The recipes I'm using are not, in any way, shape or form, my own.  I may veer off the recipe, but that's not intentional (it's more a lack of reading or measuring ability on my part).  I provide the direct link to the recipe on which ever website or blog I found it and gladly direct everyone to check out the sites. Just click on the words 'Baked Perfection' at the beginning of this paragraph and it'll take you right to the recipe.  If there ever comes a day when I intentionally adapt or create a recipe, I will provide all the measurements and specific instructions.  Until that day, no recipes!


The ingredients.  Another week when the only special purchase I made at the grocery store was the butterscotch chips.  I was running very low on a few of the staples so I also purchased more flour, butter (cause this recipe uses a whole lotta butter!) and eggs. 


Let's get started.  See those red bowls......they are awesome.  I've been complaining that my messiness is due to mixing bowls that aren't deep enough resulting in all manner of ingredients being flung out of the bowl once the mixer is turned on.  I can no longer use that excuse and now must simply admit that I just make a mess while baking.  I've been looking at mixing bowls on Amazon and have no less than 3 different sets on my wishlist at any given time.  Being the impatient person that I am, I spent a little chunk of time visiting local stores looking for bowls that fit my requirements so I wouldn't have to wait 3 days for delivery.  I tried everything from a little baking supply shop to big box retailers and had given up finding what I was looking for in a local store when I stopped at the grocery store to do my weekly shopping.  I thought I'd give it a shot and sho' nuff, found a set of 3 KitchenAid bowls.  Big bowls.  The largest is 5.5 quarts and the smallest is 3 quarts.  Rock on.

Sorry, I got distracted looking at the bowls........back to the recipe.  Super simple.  Combine flour and baking soda in a small bowl and set aside.  That's the bowl on the right. 

Next step.  Cream butter, sugar, salt and vanilla.  Beat in egg.  Add flour mixture one cup at a time.  Now, I did have a little problem here.  Again, it's more than likely due to a measuring error on my part.  I originally had 3 cups of flour and a half teaspoon of baking soda in a bowl sitting off to the side.  Logically, when I started adding it to the creamed mixture one cup at a time,  I should have had three cups.  Un-logically ( is that a word?) I had a little over 3.5 cups.  It grew.  That's my story and I'm sticking to it....LOL!  Then stir in pecans and butterscotch chips. 

Final step.  Form small balls of dough and flatten them with the bottom of a glass.  The photo above shows both the ball and flattened versions.  Bake for 8 minutes.


Taste test. Um....Yum. Super butterscotch-y. As soon as they cooled off I had them wrapped up all nice and tight and shipped to Florida. 


The clean-up.  I ended up with 4 dozen plus 8 for a total of 56 cookies.  None are headed for the freezer.  Every time I open the freezer and see all the cookies I feel like there's some group out there starting a 'Save The Cookies' campaign! 

On the next episode I'm baking my first made-from-scratch cupcakes and butter cream frosting.  There will be lots of flour and powdered sugar so lets see if my new bowls are up for the test.

Till next time
-Teddra


Monday, January 23, 2012

Fancy Flourish


I've had the idea for this card in my head for a week, but didn't have time to sit down and stamp it up.  I was reading about the latest challenge from Young Crafters Unite for a clean and simple card and this is what I came up with.   I define clean and simple as lots of white space and minimal layers.  I didn't get the card made in time to enter it for the challenge, but love the way it turned out.  I used five different stamps from the Fancy Flourish stamp set from Papertrey Ink.  Each was stamped using a different color ink and the sentiments are from the Think Big Favorites series. 

Thanks for looking!
-Teddra

Thursday, January 19, 2012

Red Velvet Swirl Brownies


Hello and welcome to my next Adventure In Baking.  This weeks recipe comes from my favorite baking blog, Baked Perfection.  Last fall, I was watching a show on Food Network and the host made these brownies and they looked really good.  I had every intention of finding the website and printing out the recipe but waited too long and couldn't even remember the name of the show.  It was the first time I saw it and haven't seen it again since!  Imagine my surprise while reading blog posts on Baked Perfection that she had watched the original episode a year earlier and made the brownies.   Fate, I tell ya....

The Ingredients.  First, let me just say that a brownie is my idea of a perfect desert.  Chocolate with fudge frosting.  And walnuts.  On one hand, I'm a little surprised I chose to make these brownies but they just intrigued me.  One of the goals I have with this whole baking adventure is to try new things.  Not just new, but also out of my comfort zone.  Not just brownies, red velvet and cream cheese brownies. 

Wouldn't you know it.....I finally think ahead to set the butter out to soften and it needs to be melted.  Sigh.  I did have to purchase a few things for the recipe such as red food coloring and apple cider vinegar but my pantry is stocked with all the basics now. 

Let's Get Started.  I started out combining everything into one bowl, mixing between each addition.  I also whipped the eggs in a separate bowl before adding them to the mix and folding in the flour.  Then I poured the batter into the pan and saved 1/4 cup for the top.


 Next step. The cream cheese layer. Blend cream cheese, sugar, egg and vanilla. Ha! Didn't fling cream cheese all over the place with the mixer. I've been flinging all kinds of things onto the counter, wall, floor and me ever since I started this journey. I know.....it's cream cheese, not flour but I finally have a day I don't have to do laundry after baking.


Final step.  Spread the cream cheese layer on top of the batter and dollop the remaining red batter over the cream cheese layer.  I then used the sharp tip of a steak knife to drag the batter around and mix it with the cream cheese to create the swirl pattern.  Does that look cool or what!!


Taste Test. The recipe said to bake for 30 minutes at 350 degrees. I thought that sounded a little strange since I used to bake brownies from a mix for almost an hour, but who am I to second guess the recipe. After 30 minutes I removed the pan from the oven and let them cool for over an hour before slicing into them for the photo shoot.  The brownie still has it's swirl on, but the middle isn't quite as solid as I'd like.  Totally failed the toothpick test.  I went ahead and tried a little bite on the outer edge.  Hmmmmm.  Doesn't smell like a brownie.  Definitely doesn't taste like a brownie.  Oh well, you win some and you lose some.  I'm probably not going to like everything I make especially as picky as I am.  I'll just chalk this one up to a learning experience.  Except now I really want a REAL brownie! 

The clean up.  I decided to put them back in the oven and it took an additional 50 minutes (!) to get the toothpick to come out clean from the center.  I decided to try another nibble of the brownie now that's it's fully baked.  Oh!  Maybe another nibble.  Ummm, maybe this isn't the disaster I thought it was.  Maybe I should just go ahead and eat the whole piece.   OK, this tastes pretty good!  Amazing what a little additional time in the oven can do.  It still doesn't taste like any brownie I've ever had.  I think it has much more of a cheesecake thing going on than a brownie.  I'd make this again for a special occasion.  Maybe it just needs a name change.  How about Cream Cheese Almost Brownie.  Nah, doesn't explain why it's red.  I'll have to work on that.

On the next episode.  I haven't narrowed down next weeks treat just yet but I'm thinking about the next flavor profile I'd like to try.  Maybe butterscotch? 

Hope to see you back here soon.
-Teddra


Tuesday, January 17, 2012

Dog Gone Cute

Hi and welcome to Tedz Imagination! 

I spent the long weekend doing a wee bit of crafting.  I worked on cards, layouts, project life and my latest Adventure in Baking.  Busy weekend! 

The layout I'm sharing today is based on a sketch at Page Maps.  I made a few changes, but I loooooove this sketch!  So simple, but the little details make it so darn cute.  Here's a close up.

I used papers and embellies from my scraps - I think the papers are an older line from Bo Bunny.  And the alphas are a combination of October Afternoon and American Crafts. 

Thanks for stopping by and spending a little time with me and check back later this week for the next episode in Adventures in Baking.

-Teddra

Saturday, January 14, 2012

Holly Jolly Christmas


Good Morning and Happy Saturday! We finally received our first measurable snow this week...a whole 3 inches.  The 40 mph winds made it feel so much colder.  We still have a few flurries today, but the winds have died down.  It's still a good time to stay indoors and with a three-day weekend ahead, I have lots of time to be crafty

This is the final layout from my Christmas 2010 photos.  My three youngest cousins live out of state but they always make a trip back to Illinois a few days after Christmas and there's a party just for them. 


What are your plans this extra-long weekend?  I'm anticipating my next Adventures In Baking episode, working on my Project Life album and catching up on a couple of Netflix movies.   Plus, I may work on a few 2012 Christmas cards.....it's never too early to start planning!

Have a great weekend!


Wednesday, January 11, 2012

Lemon Glazed Cranberry Scones


Adventures in Baking
My intention was to make lemon glazed triple berry scones from Baked Perfection but due to my inability to follow a recipe, I ended up with what you see above......and boy are they tasty!

Let me start at the beginning......

After two cookie recipes, I was ready to embark on a different type of baked good.  I thought about a muffin, I thought about a cupcake and then I was on one of my favorite blogs and the word jumped out at me......scone.  That was it.....that would be my next adventure.  I've made scones before.  From a bag of mix.  From Harry and David.   Never from scratch.  There were several different flavors I could go with, but I could already taste the berry and lemon scone.  The recipe didn't have a ton of ingredients and wouldn't be a large time commitment like dozens of cookies are.  Score. 

The Ingredients.  A few days prior to baking day, I wrote out my grocery list and hit the store for the few ingredients I didn't have on hand.  I needed to buy lemons, lemon juice, dried mixed berries and heavy cream  Even as I was standing in front of the rows of fruit in the produce section my mind was thinking ahead to how little I would need to cut the pieces to go into the scone.  I ended up buying fresh blueberries, raspberries and cherries.  Duh.....dried fruit, not fresh fruit.  Thinking back on it, I think my brain was picturing me washing and drying the fruit and cutting it up into little pieces, not actually purchasing fruit that has had it's life sucked out till it's all shriveled up and dried.  It wasn't until  I was actually gathering the ingredients right before I started making the scones that it hit me that fresh, clean, dry fruit wasn't what the recipe called for.  Luckily, I had a little bag of cherry flavored dried cranberries I use on top of salads that were ready to step up to the plate. 

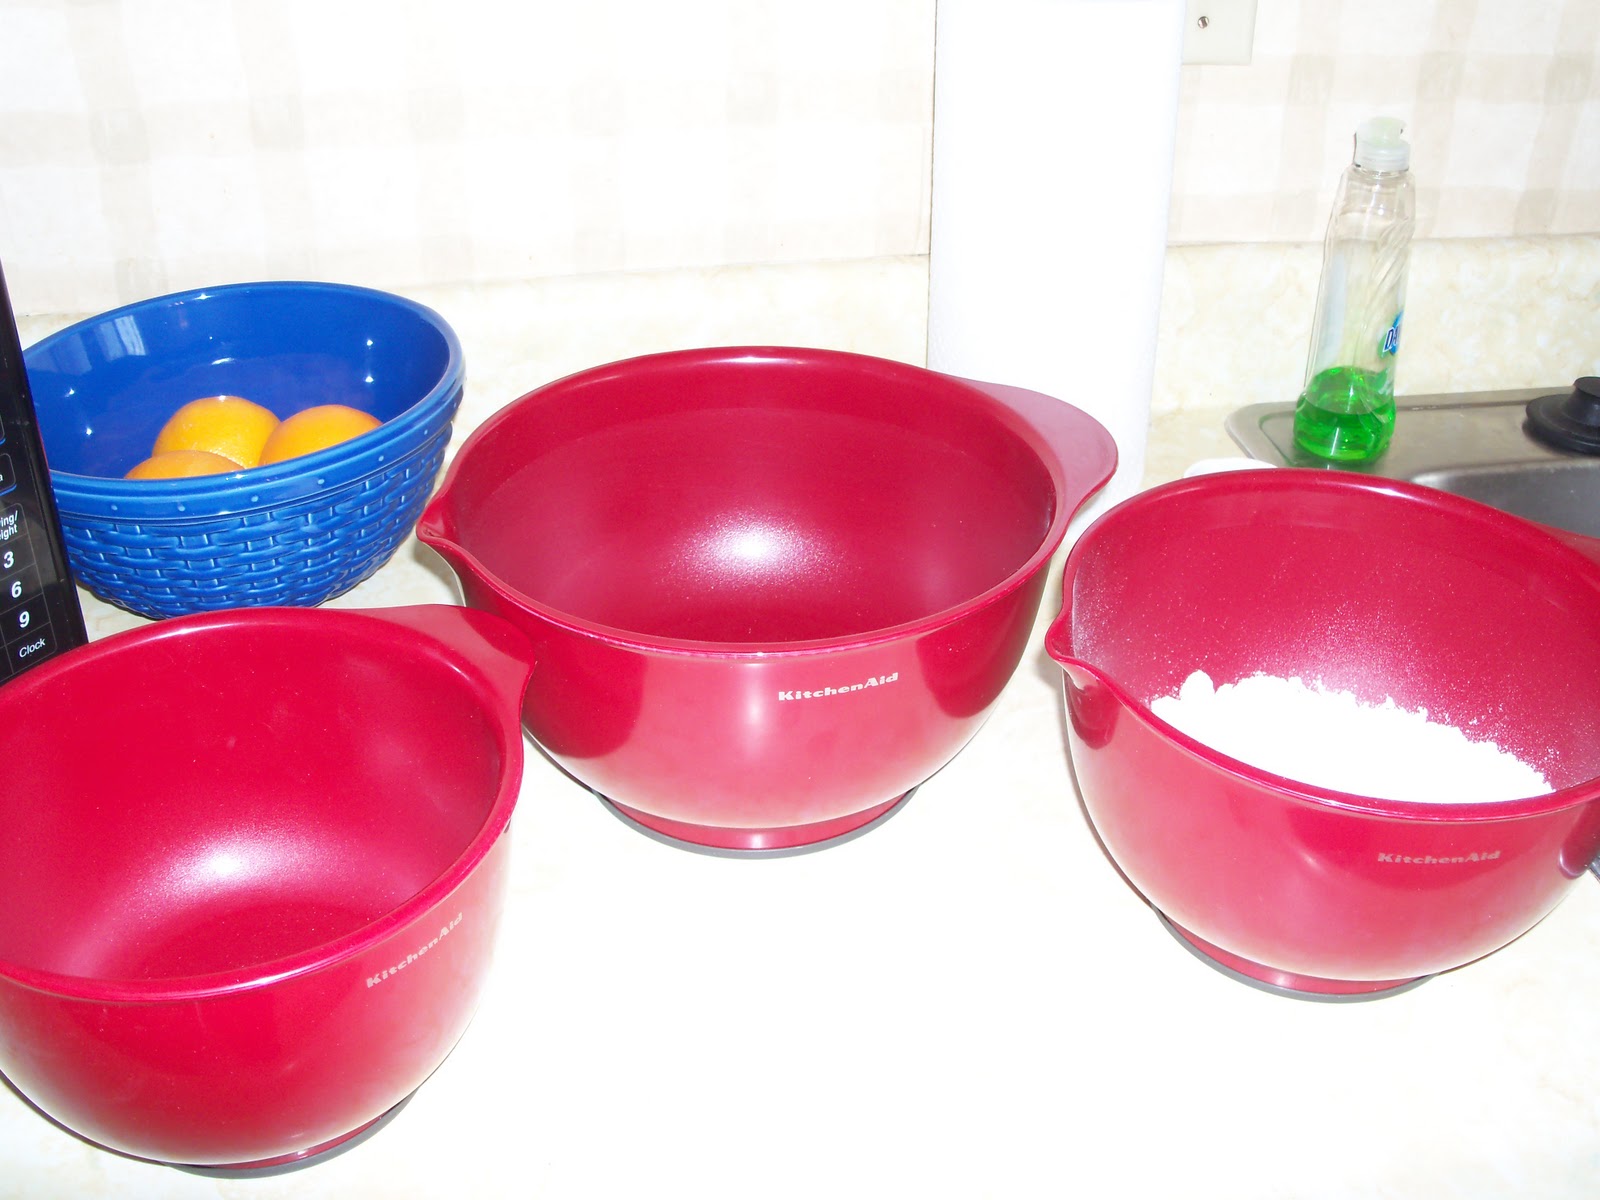
Let's Get Started.   Mix flour, sugar, baking powder, lemon zest, salt and dried berries.  The zest  worried me when I first read the recipe.  I thought that was scraping the peel off the lemon, but I wanted to check with my Mom to make sure.  Yep, scrap the peel with a long shaver tool.  Now, even with my lack of baking skills you may be surprised (I know I was!) to find I had a zest tool in my kitchen.  It has a little logo on the end says Food Magazine.  I had a free years subscription to the magazine years ago and the zest tool must have came with it.  I purchased two lemons at the store thinking the zest of one would be used for the scones and the other for the icing.  The scone recipe calls for 2 tablespoons of zest.  I now know that one lemon produces less than one tablespoon of zest.  Not much I could do about that, they just weren't going to be as lemon-y. 

Pour in heavy cream.  Here's where I encountered my next problem.  When I was at the store purchasing the ingredients, I wasn't exactly sure what heavy cream was.....who am I kidding, I still don't know what it is.  I knew it would be in the dairy area, but I didn't see anything that only said Heavy Cream.  The only thing that had the word 'heavy' was a little carton that said Heavy Whipping Cream.  Now I was just confused.  It wasn't like I was at some dinky little store, I was at a major supermarket.  Are cream and whipping cream the same thing??  Does it turn 'heavy' when it's whipped??  What the heck.  I looked around, maybe someone around here would know.  What's with all the guys doing their grocery shopping tonight......doubt they know the difference, they look more like the beer and pizza type.  Oh, here comes a couple with a loaded cart and she looks like she knows what she's doing with her list in hand........Uh oh, hubby just tried to set a gallon of milk on top of the potato chips......she is not happy....she's giving hubby the evil eye.....Yikes, better not interrupt that situation...Next solution, text mom.   No answer.   Well, guess I'll just go with the heavy whipping cream cause that's the only thing that looks remotely close. 

Mix or knead by hand, just until combined.  One other thing I completely forgot about in my quest for Heavy Cream was that the recipe calls for 1.25 cups.  My little carton turned out to be 1 cup.  One cup turns out to not be quite enough to mix with the flour mixture and make it all stick. 

Mixture will be sticky.  No kidding.  Ick.

Flour surface.  Divide dough into two sections, pat into two rounds, cut each round into pieces and place on a greased cookie sheet.  At this point I was having some difficulty keeping the dough and cranberries stuck together and I was afraid it would get worse the more I worked with it.  I separated it into two rounds, but didn't flatten them out too much and cut each into 4 pieces. 

Bake 9-11 minutes and add the glaze. 

Next step.  The Glaze.  OMGoodness.  This is where the lemon flavor comes in.   The glaze is simply powdered sugar, lemon juice and zest.  I somehow managed to squirt a little bit of lemon juice in my eye while trying to open the container.  Never a dull moment around here I tell ya. 

The clean-up.  Well, I didn't use a mixer and still managed to make a mess with the flour.  Even with my veering off the recipe, these scones are Gooooooood!  Flavorful, especially with the glaze ( I may have added a wee bit more lemon juice than it called for to make up for the shortage of zest!) and decently moist for a scone.   I went ahead and glazed the remaining seven and covered the plate with saran wrap.  I wasn't sure if they'd stay fresh very long but I just had one tonight for dessert and, in my opinion, they're better today, three days later, than they were on Sunday when they were fresh out of the oven. 

On the next episode of Adventure in Baking.  I'm a little ahead of the game this week.  We're supposed to finally get our first measurable snow tomorrow so I've already picked out my treat for this weekend and purchased what I needed from the store tonight.   You'll have to check back next week to see what gooey confection I decided upon, but here's a little tease........red velvet.......it's probably not what you're thinking so be sure to stop back by!

Sunday, January 8, 2012

Forever Young


Welcome back!  I haven't been doing much scrapbooking or stamping lately.  Just busy with the holidays and getting back in the groove of regular days around here.  I've also been focusing on the new baking adventure I've set for myself for this year.  But, never fear.....yesterday I gathered up a few patterned papers and a grade school photo of my Mom to whip up a layout.  I used KaiserCraft's Nan's Favourites collection from Apron Strings  September 2011 kit. 

I'm also finishing up the final layout from Christmas 2010 that should be ready to post later this week along with the Adventures In Baking post from this weekend where I baked cranberry scones with lemon glaze. 

See ya soon!

Wednesday, January 4, 2012

Peppermint Chunkies

Hello and welcome back!  I'm stopping in today to share the second episode of Adventures in Baking.  Do these cookies look yummy or what?  When I was at the store purchasing the chocolate chips and peanut butter chips for the last cookie recipe, I noticed this bright red bag of Andes Peppermint Crunch baking chips.  I've never seen anything like them (not that I spend a lot of time in the baking isle) but the packaging was calling out to me!  And I like peppermint.  And it has recipes on the back.  One recipe is for the cookie and the other is for cupcakes.  My mind was perplexed.....what to do with them......might be a seasonal item, better get them while I can!  And so the peppermint crunch's came home with me.
The Ingredients.  I'm following the recipe right off the package, so here we have the ingredients.  Couple of questions to ponder.....what's the difference between brown sugar and dark brown sugar?  Yeah, one's darker (and has the consistency of a rock) but they're both PURE cane sugar meaning no additives, right?  So one sugar cane stalk in the Miami field has a better suntan than another stalk?  Then there's the coconut.  Reading through the recipe everything seems like a normal cookie dough recipe until you get to the coconut.  It's kinda like the game 'Which of these things doesn't go with the rest'.  I know my Aunt Shari is shaking her head right now about the addition of coconut.  She's not a fan.  I don't necessarily have anything against coconut.  I'm not sure I've ever actually tasted it.  It's appearance doesn't help its cause.  White, stringy, kinda waxy.  Sorta reminds me of little kids shoe laces chopped up and in a bag.  (I used to work in a shoe store.....I've seen lots of shoe laces in my life).  Shoe laces aren't very appetizing. 

Let's get started.  I was very careful with the flour this time.....I did not want to clean up that mess again!  First up:  Cream together the softened butter, dark brown sugar and granulated sugar.  Softened butter.  Again.  Should have known.  I have to start reading the instructions earlier or planning better......I'm gonna try the microwave this time.  I just need to soften the butter without melting it.  Two sticks on a plate for 5 seconds.  Nope, no change.  Let's try 5 more seconds.  OK, I think there's a little difference.  Let's go for broke.....8 seconds.  Ah ha! Softened, not melted, butter in 18 seconds.  I may be getting the hang of this!
Well, turned the mixer on low to cream them together and sugar went flying.  I really think it's the size of the bowl.  Maybe it's not deep enough.  Time to clean up the sugar. 

Next step.  Add the egg, vanilla, flour, baking soda and salt.  Yum, this is tasty.  I haven't made chocolate chip cookies in years, but if I'm remembering correctly the recipes are very similar up to this point. 

Here's were it gets interesting.
Oats, coconut, pecans and Andes peppermint chips.  This puts the chunk in the chunkies.  I managed to get all the measurements correct this time. 
Final step:  Let's get these babies bakin'.  I have ten times more confidence in these cookies being edible than I did at this same stage with the chocolate chip peanut butter cookies.  They already look so pretty.  The peppermint chips are more pink than red.  These would be nice for Valentine's Day if you can still find the baking chips. 
Oh My Goodness!  They smell divine!  Can't wait to see how they taste.  Ummmmmmm.......so good!  Crunchy on the outside and soft and chewy on the inside.  Think I need to try another one, you know......to check for consistency! Lol!  Yep, still great. 

The Clean-Up.  The recipe says it yields 60 1.5 inch cookies.  I ended up with 6 dozen + 7, so 79.  They hold their shape really well, so the size they are when they go on the pan is about the size they come out.  I don't know if they're 1.5 inches, but they're 3 bites.  A three bite cookie is the perfect size in my estimation.  So, final question.....how long can cookies be kept in the freezer cause at this point I have more cookies in there than food. 

Hope you've enjoyed this weeks episode of Adventures in Baking.  I'm already on the hunt for the next adventure.  It's time to break away from the cookies and try something new.  I'm thinking maybe a muffin of some sort.  Till next time!

Sunday, January 1, 2012

Welcome to 2012

Hi and Happy New Year!  Have you made any resolutions?  We're about 16 hours into 2012.....have you already broken any resolutions??  Lol!  I don't call them resolutions, but I do set goals, usually in the form of some project or another. 

For those that laughed along with me and my cookie baking blog post here, I have some news......I've decided to turn Adventures In Baking into a year-long series combining baking and scrapbooking.  How's that going to work? you may ask.  My plan is to document the baking process from choosing the recipe and ingredients to what the treat looks like each step of the way and finishing with the taste test. 

I've found a system that I'm making work for me.  That system is Becky Higgins Project Life.  I'm using the divided page protectors and journal cards to highlight each baked treat I create, week after week.  I'm hoping I'll be able to see and taste the difference between the January attempts and the December delights. 

This project starts tomorrow with Peppermint Crunch Chunkies.  Wish me luck!