Hi and welcome to Adventures In Baking! In celebration of St. Patty's day, I decided to Go Green!! This recipe is straight from Betty Crocker herself and you can find it here. These cookies, in green, are a little out there but they're a fun way to add a little color to your holiday.

The ingredients. The ingredients for this recipe are a little different from other cookies I've made. It uses powdered sugar instead of white or brown sugar. It also calls for egg yolks instead of the whole egg. If you check out the full recipe on Betty Crocker's website, you'll notice the cookie photo uses Andes Mints on top as garnish. They look very refined. Well, as refined as an Incredible Hulk colored cookie can look, lol! When I stopped at the store to pick up my cookie ingredients, I couldn't find any Andes Mints so I grabbed a bag of Mint M&M's. Did you know M&M's are available in flavors? They had Mint and Raspberry and I think there were a couple others.

Lets get started. Beat butter and powdered sugar until light and fluffy. There is no easy way to work with powdered sugar. It flies everywhere the second the mixer starts. Big poofy cloud. Right up the nose. Great.
I find the science of baking to be very interesting. The dough starts out as two completely separate items, butter and sugar. Once the beaters start working, those same two items turn into a very dry, almost powdery, consistency. Then, right before my eyes, they slowly blend into a smooth and creamy dough. It's Magic.

Next step. Beat in peppermint extract, egg yolks and food color until blended. Now that's green. Let's talk about eggs. I'm not an egg eater and my egg knowledge is limited to hard boiled eggs so this recipe stumped me for a minute. I wasn't completely sure which part was the yolk so I sent a quick text to my mom. She straightened me out.... separate the yellow from the goop and keep the yellow. Got it.

Final step. Shape dough into 1-inch balls.

Using the end of handle of a wooden spoon, press a deep well in the center of each cookie. Bake 10 minutes. The instructions say to reshape the wells as soon as they come out of the oven, but mine held their shape and I didn't need to reshape any of them. Cool cookies completely before adding chocolate.

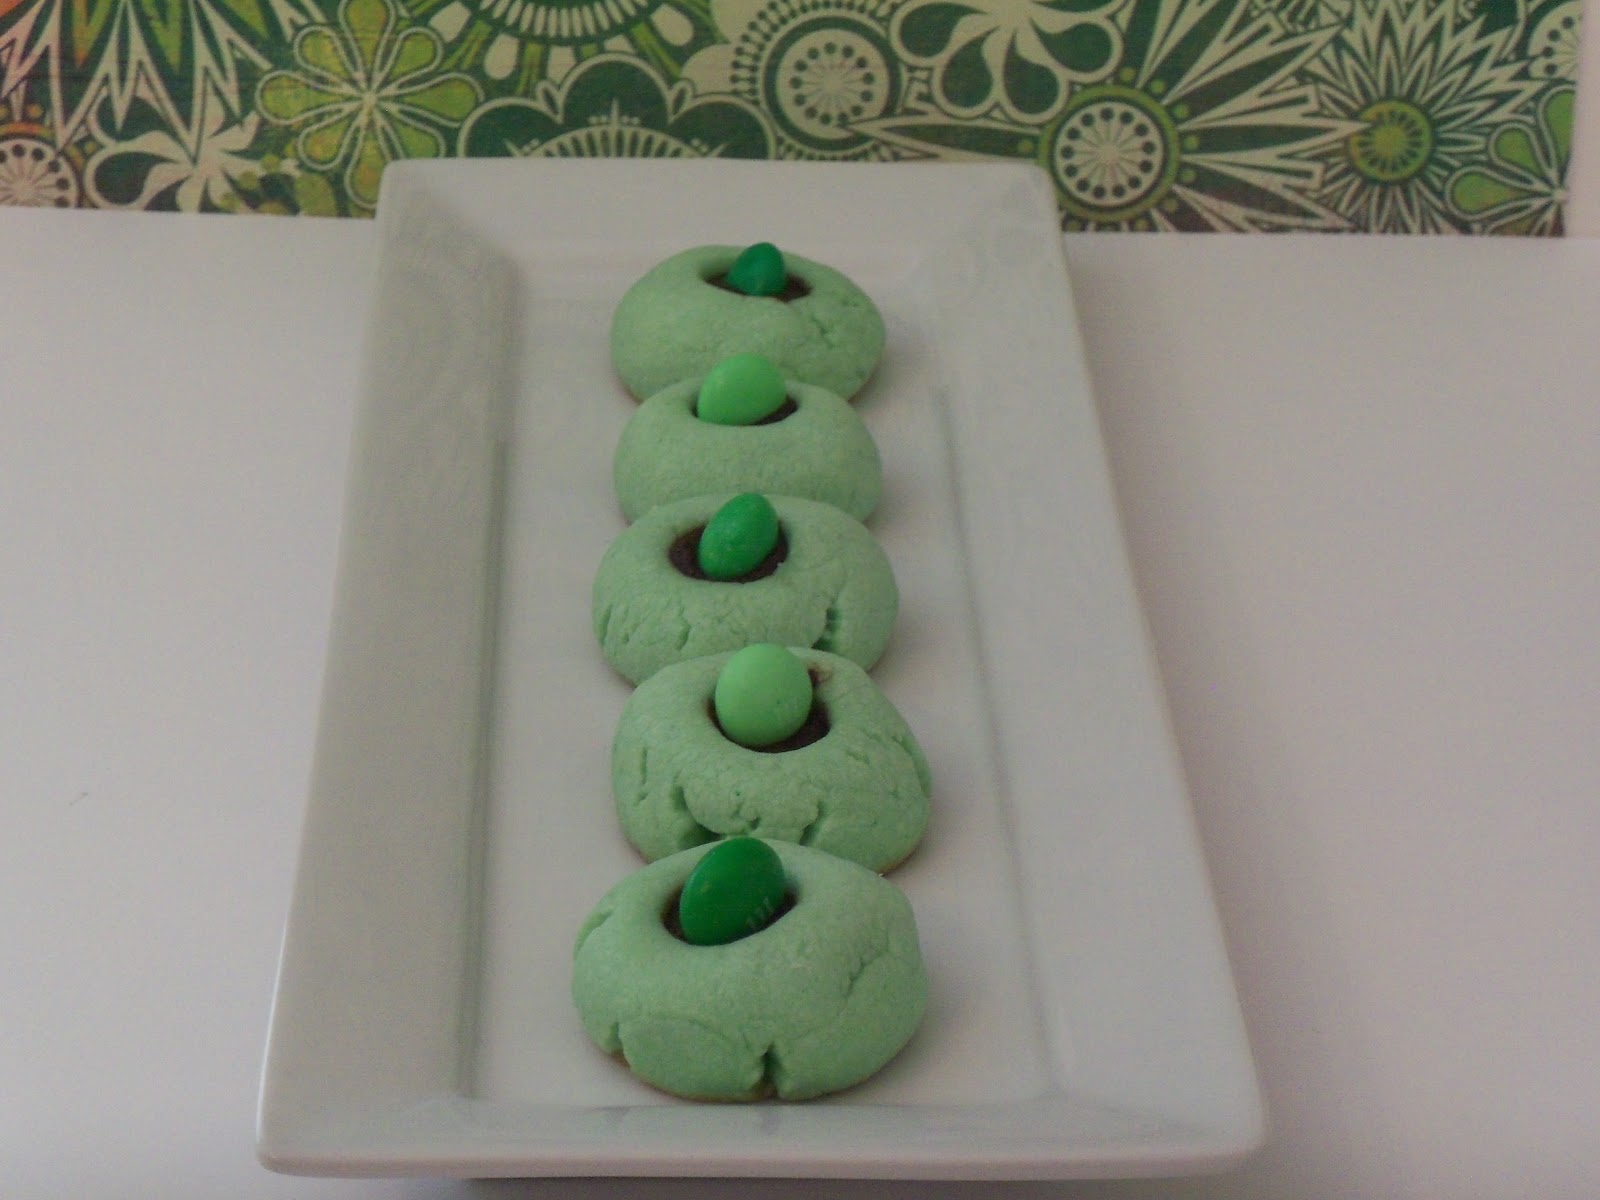
Microwave chocolate chips, cream and butter. Fill wells with chocolate and garnish with candy piece.

Taste test. These are pretty good. Except for the chocolate. I personally prefer milk chocolate, but I wanted to stay true to the recipe so I went with dark chocolate. Ick. Bitter. The green cookie portion of the cookie is a nice texture. Light and flaky.
This would be a nice recipe to have for holiday parties. Instead of green, they could be pink for Easter or Valentines and red for Christmas. Or for Halloween ..... how about dipped in white chocolate with a few red squiggles drawn on and blue M&M's so they look like eyeballs! That would be cool.....and creepy.....but still cool!

The clean-up. The recipe yielded 2 dozen plus 10 for a total of 34. Once I determined I didn't really like the chocolate, I left the last 10 unfilled and gave most of the filled cookies away.
On the next episode of Adventures In Baking ....... it's cupcake time!
Till next time
-Teddra
No comments:
Post a Comment